A while back - like several months ago - I obtained this end table. (When I got it, it was put together, I promise!) It came complete with a very tacky, very bright brass pull. In case you haven't guessed, I really DO NOT LIKE brass. Especially shiny brass. It reminds me of the worst parts of the 80s.
But I digress...I decided to paint it with a shabby chic kind of finish, so I set out on what I thought was a good plan to get ride of the shiny stain/paint/varnish/whatever monstrosity that was. As you can tell, the legs of the table (which started out the same cherry color as the top gave me NO problem whatsoever. However, after about 10 minutes (I told you I'm an instant gratification type of girl, right?) of sanding that tabletop just to wind up with a few scratches, I thought, "Good Lord, I'm never going to get this shiny stuff off!"

So, I went and bought a deglosser AND a stripper. I couldn't tell that the deglosser did much of anything, so I put the stripper on and let it sit for 3+ hours while I went to some friends for some yummy tacos and peach cobbler. :-)
The stripper worked on the SIDES of the table but not the top. I wish I had pics to show you, but to be honest, I was so frustrated by this point I was near tears and wasn't really sure this blog post would ever see the light of day.
That's when I said, "Well, phooey on that! I'll just prime the mess out of it." So that's what I did. Here's the thing, though. I am VERY MUCH on a budget for the next few months, so I couldn't afford to just order in the chalk paint or milk paint that furniture painters everywhere tout (I WILL one day, though!!). So I had a can of spray Kilz primer, a can of dark brown spray paint and a can of ivory spray paint. And that's what I worked with. In that order.
I tried to get pretty even coverage with the primer and dark paint, but when it came to the ivory paint, I knew I'd just be sanding and distressing most of that off, so I didn't worry too much about "even" coverage then.
 |
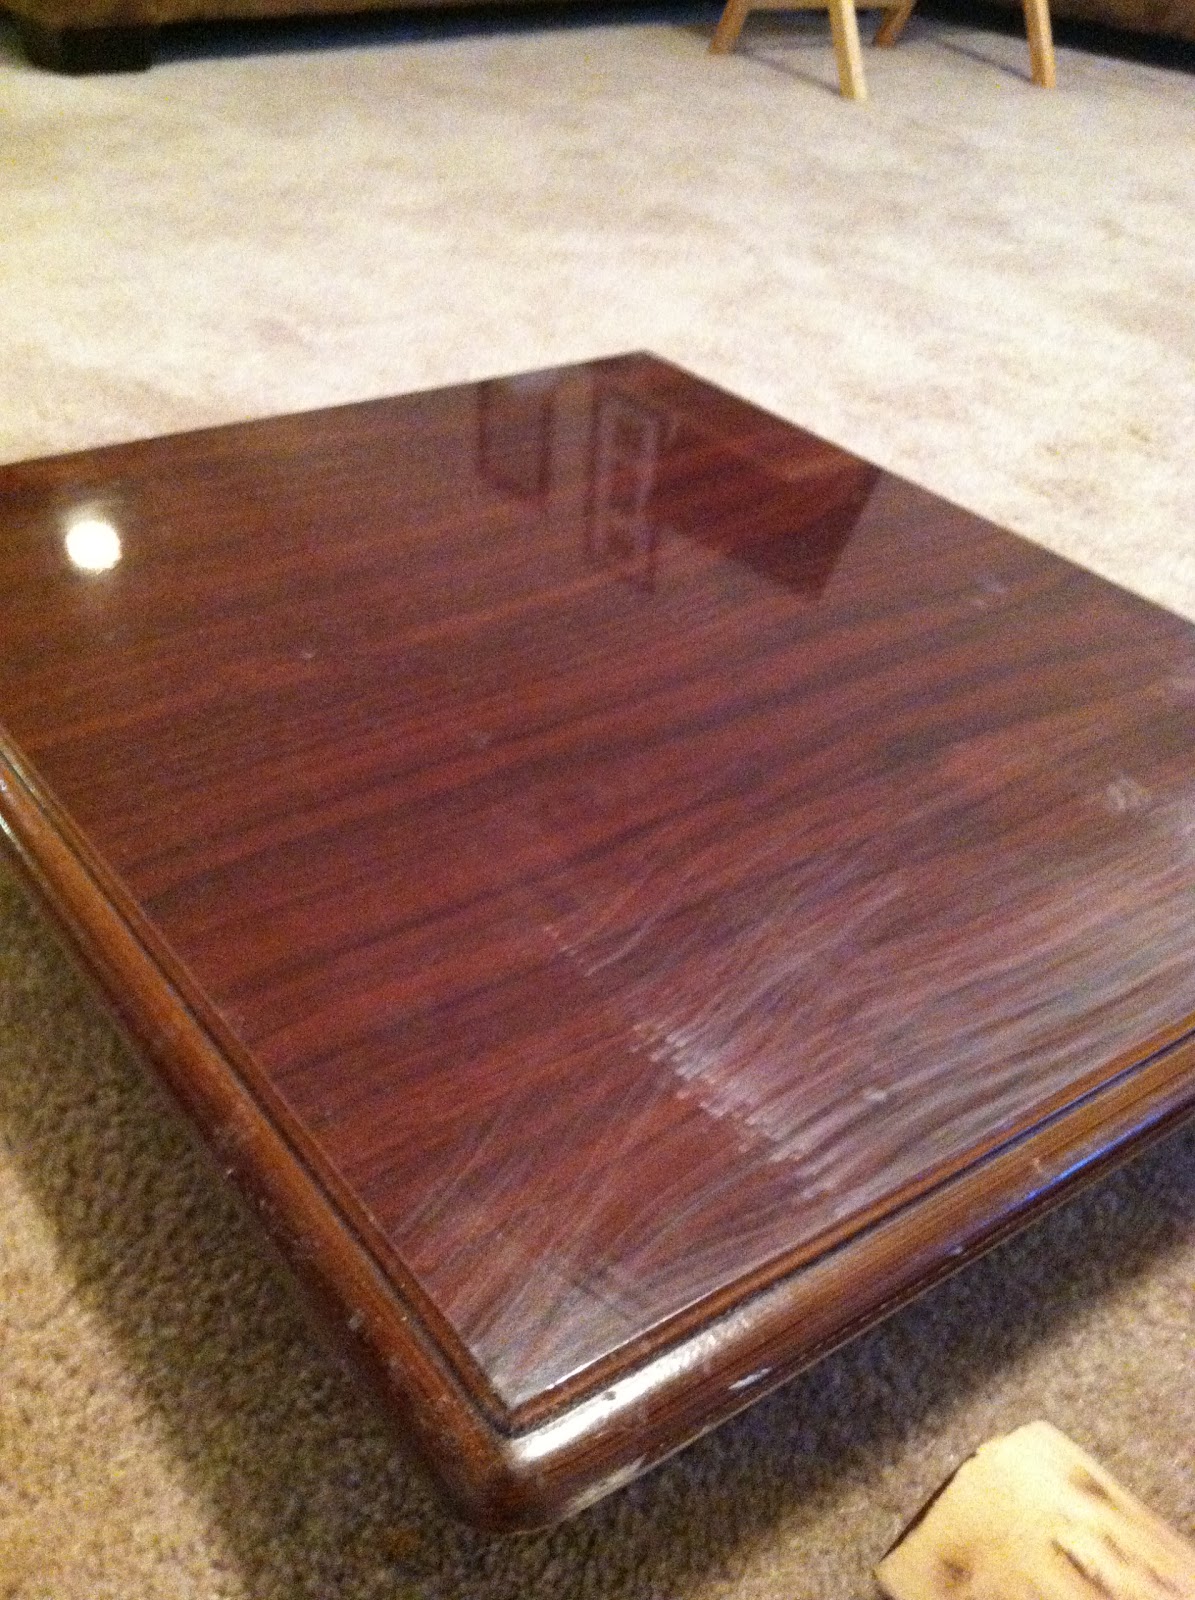
| Here we are with one leg sanded and the table top mostly sanded. |
Sanding the legs was pretty simple (thanks to a friend loaning me his palm sander. Thank God for power tools!). I was afraid to use the sander on the table top, since that's what will be seen most, so I sanded that BY HAND. Better workout than Jillian could give me, I'm telling you. Especially doing this outside in the Savannah summer...
So here's the finished product. You'll notice I also painted the hardware darker and sanded it a bit so you don't see the stinking bright brass. LOL Also, I used some lacquer to seal it when all was said and done. (three coats on the table top since that would get more wear & tear)


So, here's what I've taken from this:
1. I tend to over-think things. I should have just gone with my gut and primed and painted.
2. I LOVE the way the table top turned out - almost like brush strokes.
3. I will definitely be more careful with the legs next time - I think I would have liked more ivory than brown showing.
4. I REALLY want to try Annie Sloan's Chalk Paint on my next piece. I'm saving my pennies now...
So, I hope you guys are having a GRAND Monday. Here's to an awesome week!!

No comments:
Post a Comment